
Copyright © 2017 by Electric Motor Werks, Inc.
EMotorWerks® and JuiceBox® are trademarks used by Electric Motor Werks. Other brand and product names are trademarks or registered trademarks of their respective holders.
The manufacturer offers a 90 day warranty on its pre-assembled smart-meters. The warranty covers parts, factory labor, and shipping if required.
If you are not 100% satisfied with your purchase, you can return the product for a refund. Please note that a 10% restocking fee will apply unless the return is the result of a manufacturing defect. The customer will be responsible for shipping costs. Customers can return a product for up to 30 calendar days from the date of purchase.
Any returned product must be in the same condition it was received, and in the original packaging. A receipt is required (electronic receipt is OK). Note that custom-built charging stations and DIY kits are not returnable. Any damaged or missing items must be reported to our customer support within 48 hours of delivery. In case you received a defective item please notify the customer support team. Electric Motor Werks will identify the problem, and offer an appropriate solution, such as repair or exchange.
Electric Motor Werks reserves the right to change specifications and product offerings without notice. Where possible, Electric Motor Werks will substitute products with equivalent or better functionality and specifications.
FCC Part 15 Information
Note: This equipment has been tested by the manufacturer and found to comply with the limits of a class A digital, device pursuant to part 15 of the FCC rules. These limits are designed to provide reasonable protection against interference when the equipment is operated in a commercial environment. This equipment generates, uses, and can radiate radio-frequency energy and, if not installed and used in accordance with the instruction manual, may cause harmful interference to radio communications. Operation of this equipment in a residential area is likely to cause harmful interference in which case the user will be required to correct the interference at his or her own expense. Any modifications of this product without the express authorization of the manufacturer will nullify this statement.
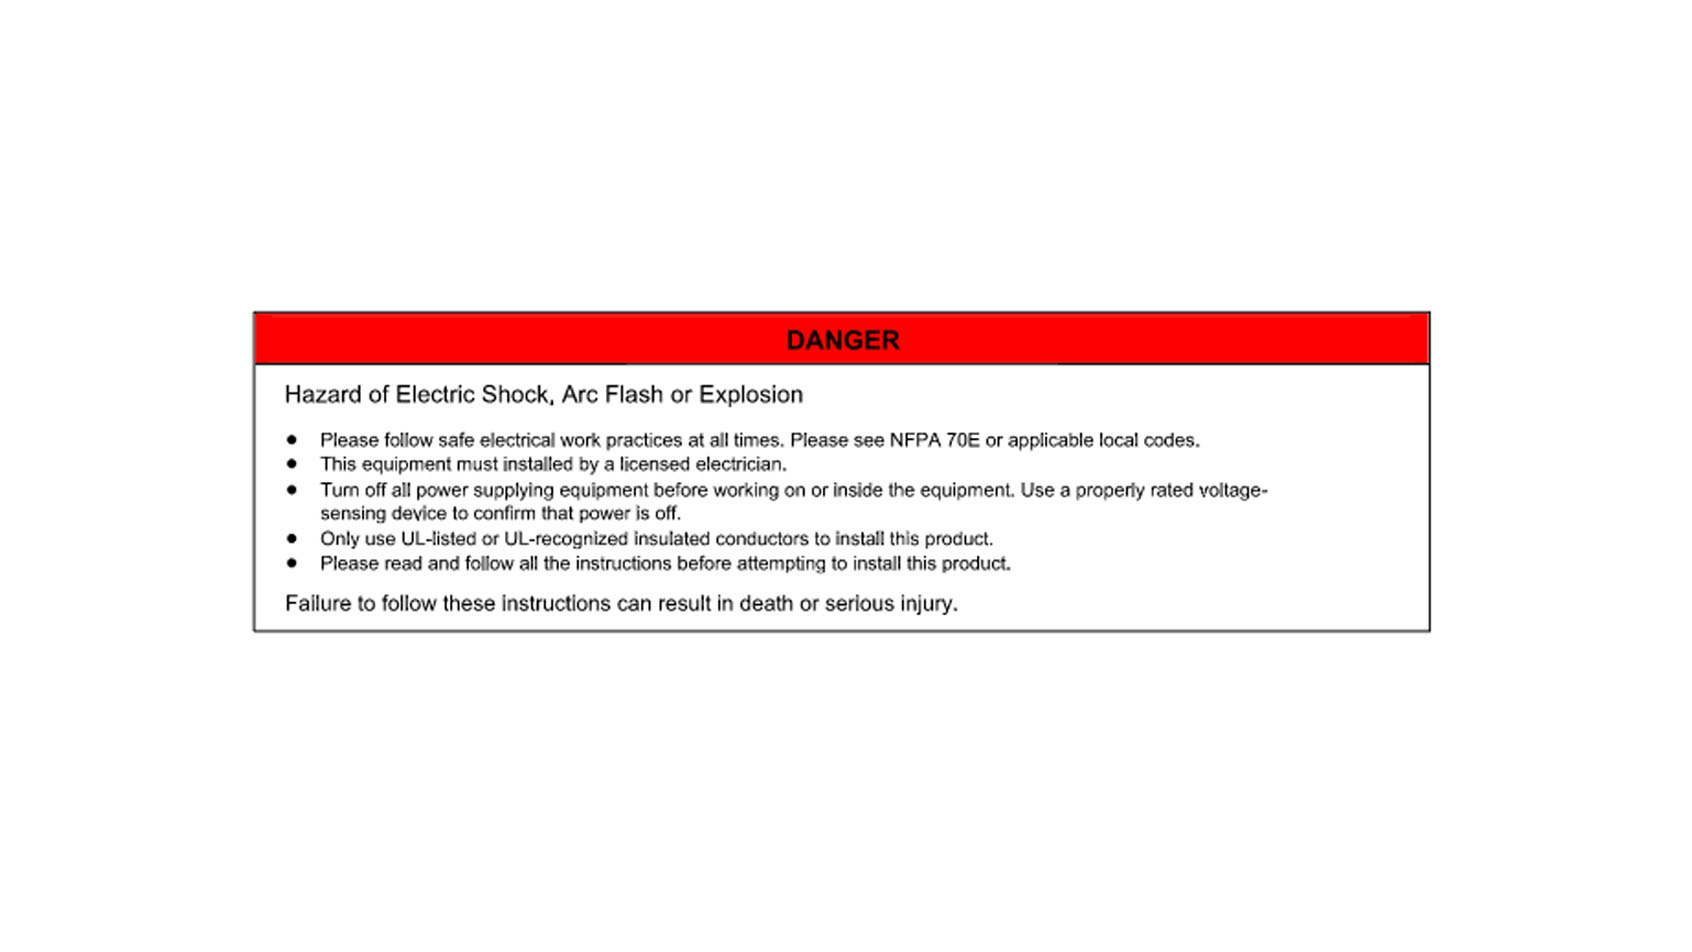
Hazard of Electric Shock, Arc Flash or Explosion
● Please follow safe electrical work practices at all times. Please see NFPA 70E or applicable local codes.
● This equipment must installed by a licensed electrician.
● Turn off all power supplying equipment before working on or inside the equipment. Use a properly rated voltage-sensing device to confirm that power is off.
● Only use UL-listed or UL-recognized insulated conductors to install this product.
● Please read and follow all the instructions before attempting to install this product. Failure to follow these instructions can result in death or serious injury.
DANGER
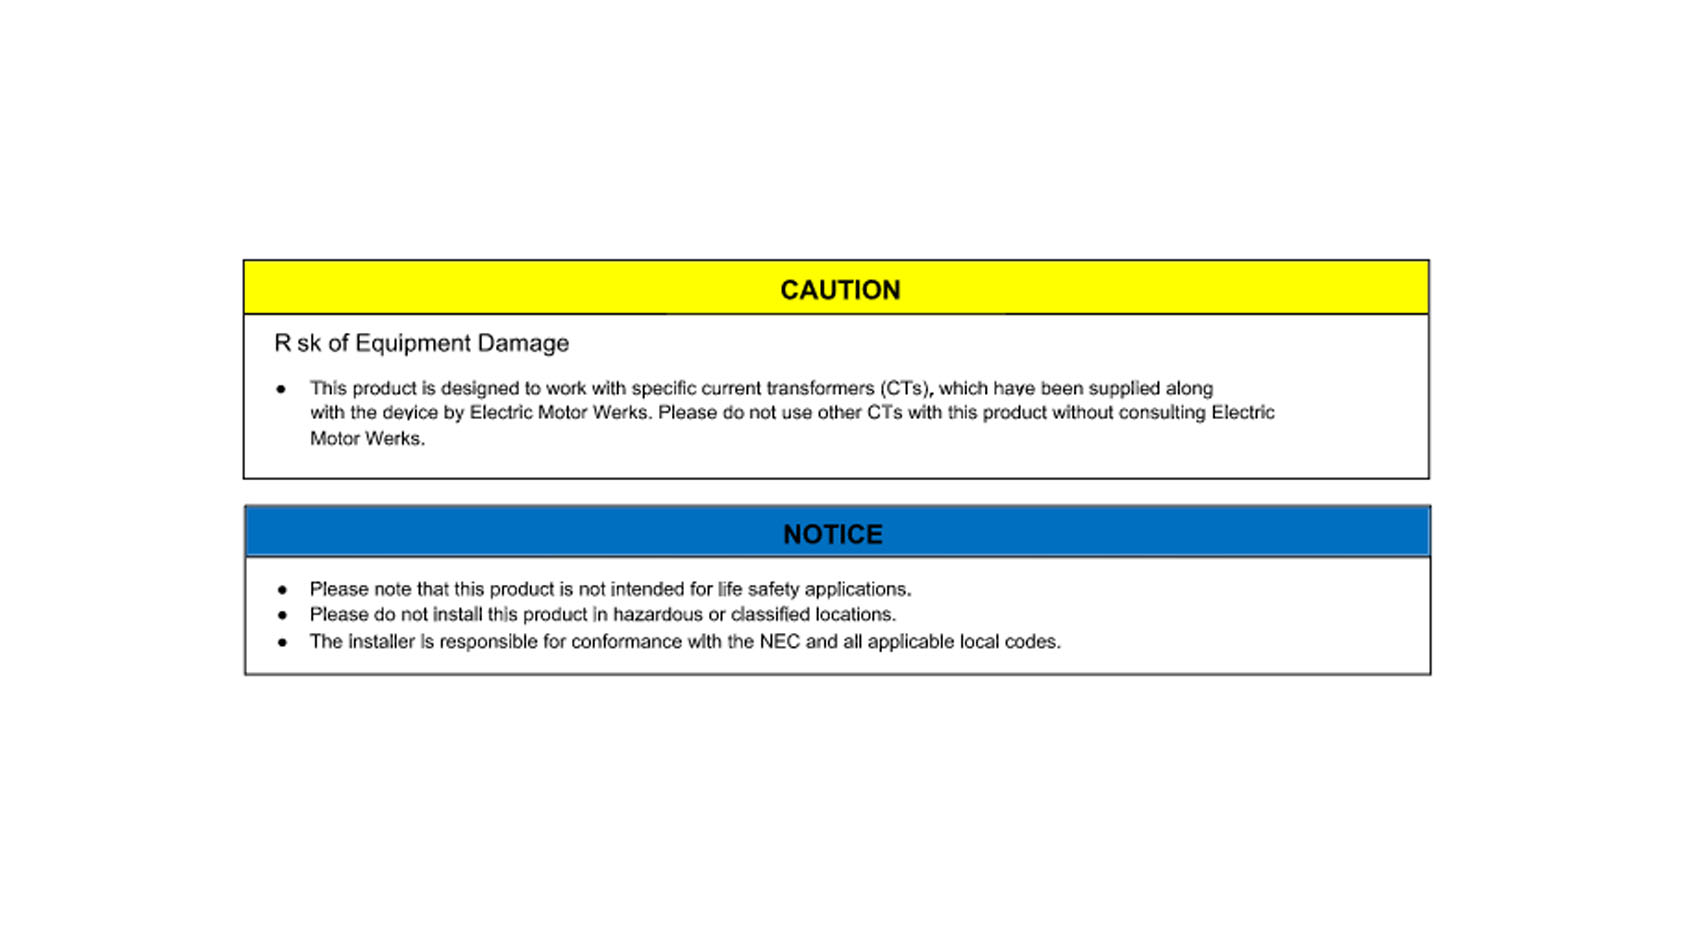
Risk of Equipment Damage
● This product is designed to work with specific current transformers (CTs), which have been supplied along with the device by Electric Motor Werks. Please do not use other CTs with this product without consulting Electric Motor Werks.
CAUTION
● Please note that this product is not intended for life safety applications.
● Please do not install this product in hazardous or classified locations.
● The installer is responsible for conformance with the NEC and all applicable local codes.
NOTICE
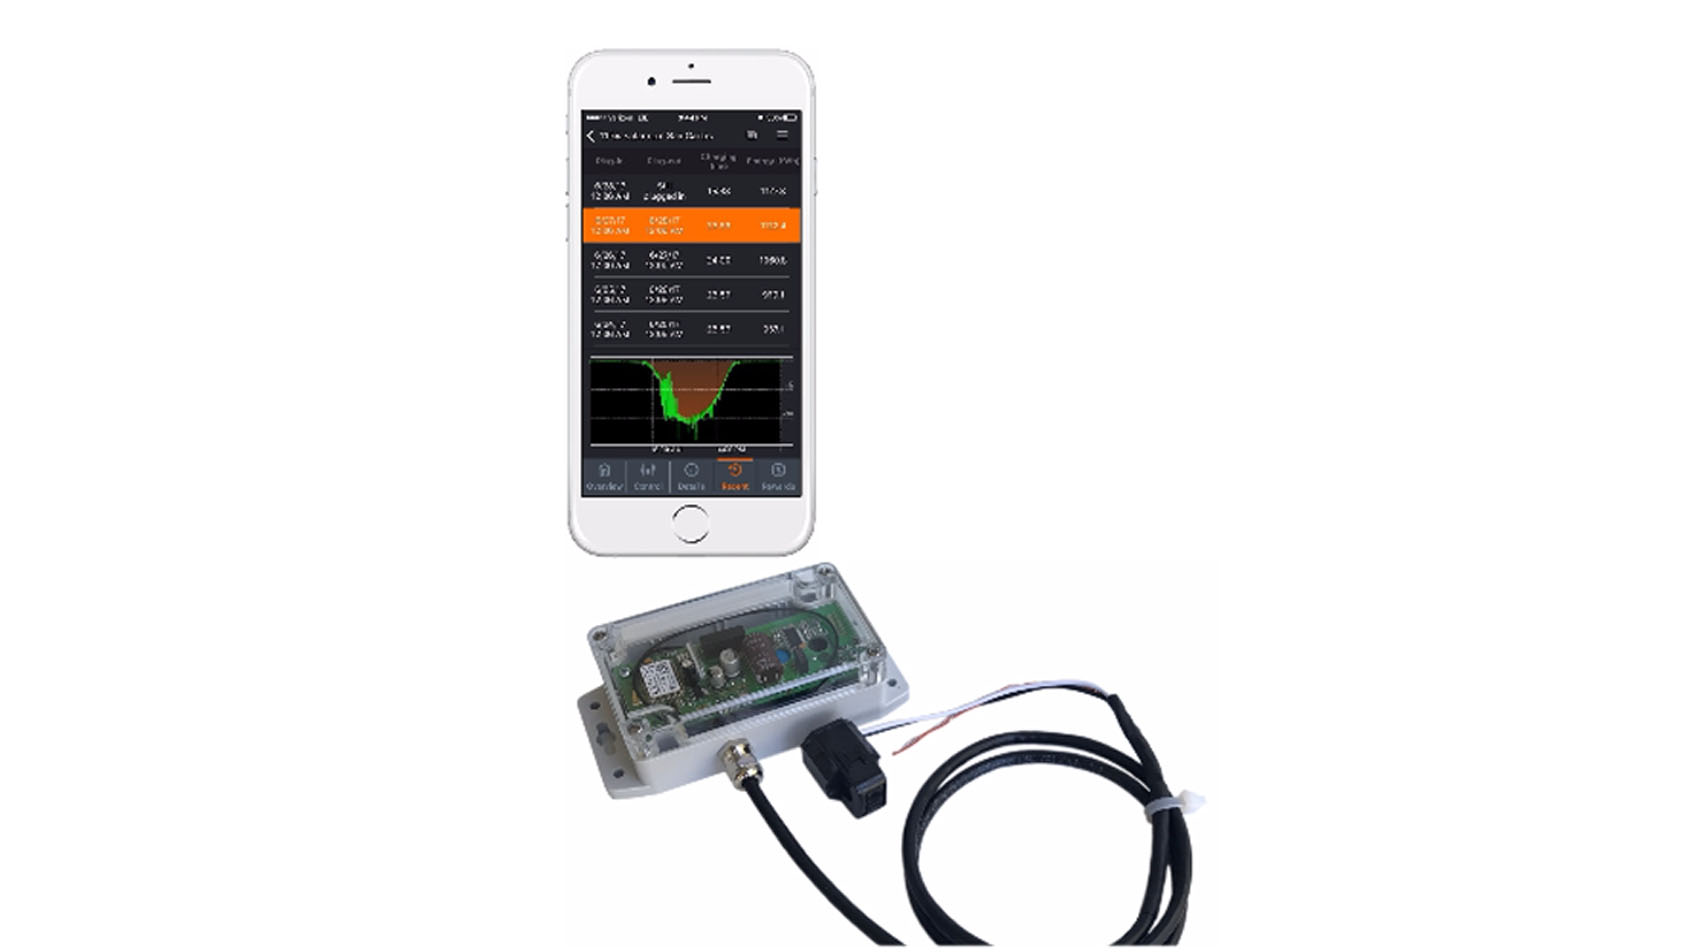
Overview
JuiceMeter is installed in your electrical panel, connecting to any electrical breaker and clamping a split-core current transformer on the output lines of your solar inverter. Upon the first power-up, JuiceMeter is provisioned in the same way as any other JuiceNet device. It should ideally be installed at the same time as your JuiceNet charging station.
Once JuiceMeter is installed, you can add your JuiceMeter and your JuiceNet EVSE to a Load Group. JuiceMeter will optimize solar EV charging.
JuiceMeter is compatible with any JuiceNet-enabled EVSE, including JuiceNet partner stations and our JuiceBox Pro stations.
Installation Checklist
A JuiceMeter system has the following components:
● JuiceMeter
● Attached current transformer rated to 200A
● Attached line-tap cable
● JuiceNet-enabled level 2 EV charging station (not supplied)
Other requirements:
● WiFi data connection 2.4 GHz 802.11 b/g/n
● DHCP (static IP addresses may be supported)
● Internet-connected device with web browser access
Features and Specifications
Input Voltage Equivalent to voltage you are sensing.
Current Transformer 75A
Meter Accuracy: Class 0.5 with California approval for revenue grade metering
WiFi 2.4 GHz 802.11 b/g/n
North America -30C to 70C, 95% RH, non-condensing
FCC CFR 47 Part 15, Class C
Warning – These installation/servicing instructions are for use by a qualified individual. To avoid electrical shock, do not perform any servicing other than that contained in the operating instructions unless you are qualified to do so.
No responsibility is assumed by the manufacturer for any consequences arising out of the use of this material.
General guidelines:
● Only qualified individuals should install the JuiceMeter. The mains voltages can be lethal.
● Follow all applicable local and national electrical and safety codes.
● The current sensor must be routed to the phase to be measured. Disconnect not required for the neutral wire.
● Equipment must be disconnected from HAZARDOUS LIVE voltages before access.
● Before applying power, please check that all the wires are securely installed by tugging on each wire.
● Do not install the submeter where it may be exposed to temperatures below –30°C or above 70°C, excessive moisture, dust, salt spray, or other contamination. The meter requires an environment no worse than pollution degree 2 (normally only non-conductive pollution; occasionally, a temporary conductivity caused by condensation must be expected).
● Do not drill mounting holes using the JuiceMeter as a guide; the drill chuck can damage the screw terminals, and metal shavings can fall into the connectors, causing an arc risk.
● If the meter is installed incorrectly, the safety protections may be impaired
Mounting and Connecting the Device
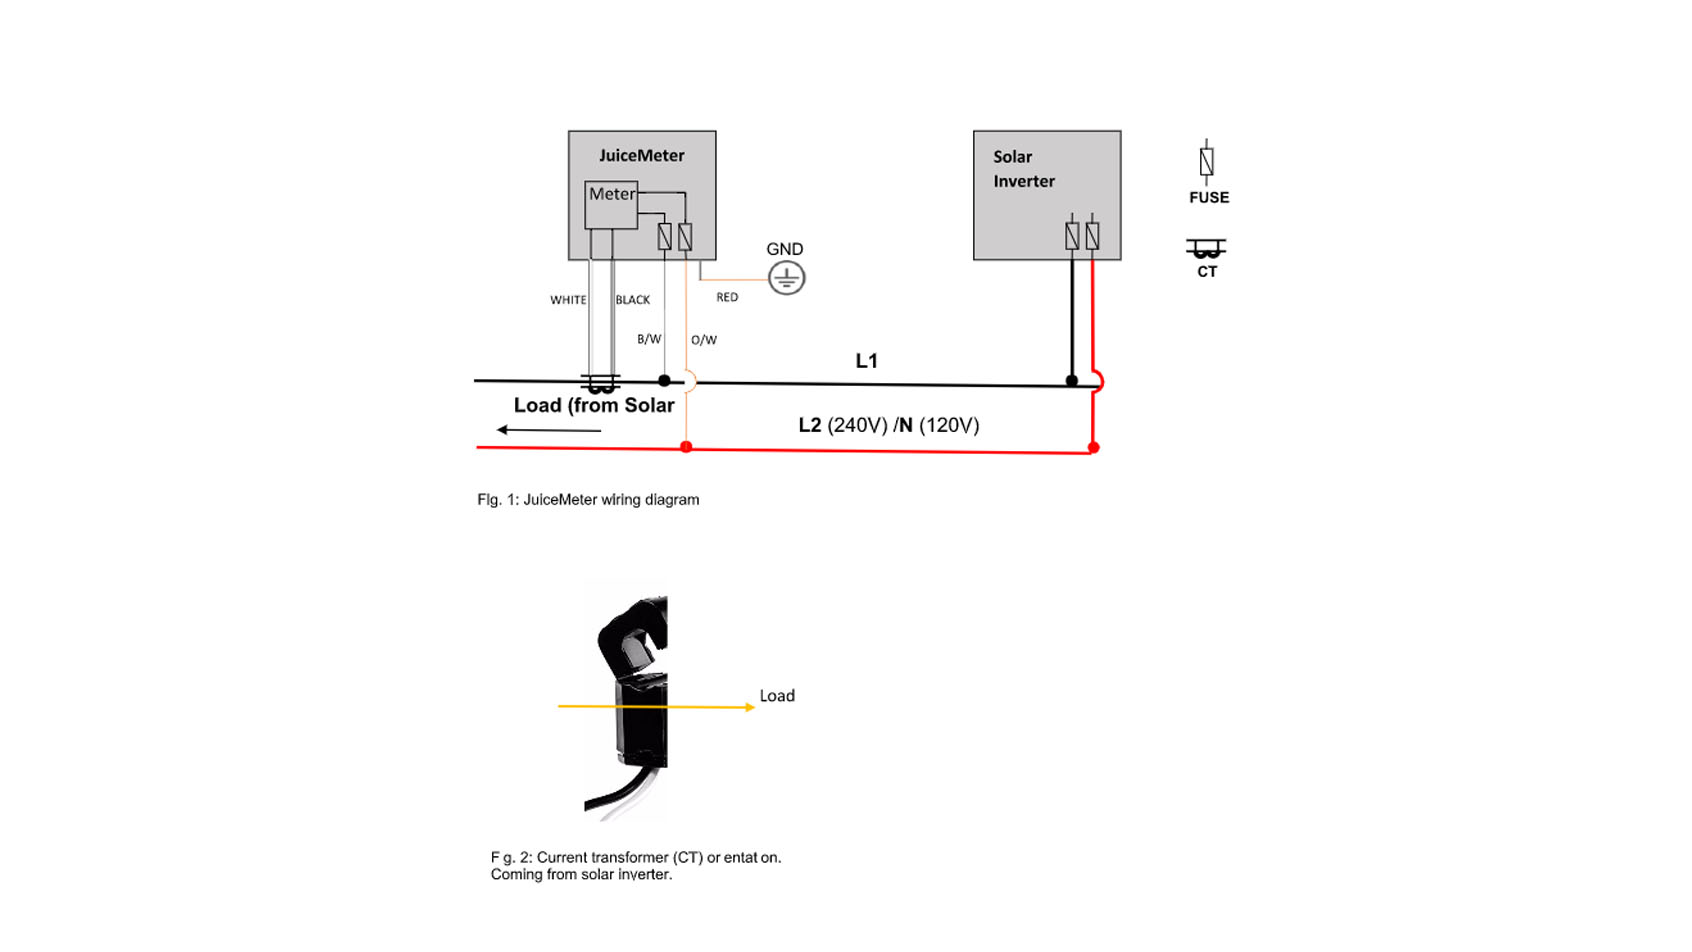
1) Begin by identifying the location for mounting JuiceMeter. Ensure distance from the panel does not exceed the length of line-tap cable. Mount in a location close to the circuit breaker/disconnect switch. Provide at least 4 inches of space around all edges of the enclosure (Fig. 5).
2) Mount JuiceMeter using four #8 screws (not included). At least two of the mounting screws must be securely attached to a structural wall component such as a stud.
3) Connect the orange/white lead to ground/neutral terminal of your solar inverter for reference voltage. (Fig. 1).
4) Fit current sensor (CT) on one of the leads coming out of your solar inverter. It should be installed such that the current readings produced are negative. (Fig. 1 & 2).
5) Attach the sense bare lead (brown/white) from the JuiceMeter to the live output terminal of your solar inverter.
6) Configure WiFi network access (pages 6 &7)
WiFi Setup Instructions
Be sure to have your PC or smartphone ready - you will use them to set up and pair your JuiceMeter with your WiFi network.
Search for “JuiceNet” in Google Play or Apple iTunes.
A. Setup for iOS and Android (JuiceNet App for iOS/Android)
Install the app by searching for “EV JuiceNet” or “EV JuiceBox” in the App Store or Google Play Store.
Create or log in to your JuiceNet account with an email address, Google+, Twitter, or Facebook.
Tap “Add JuiceNet Device” and the app will provide directions for configuring JuiceMeter WiFi on your network.
Once configured on your network, the app will also help add your JuiceMeter to your JuiceNet account once it’s detected online.
Go to Section C.
B. Setup for PC or other platforms (JuiceNet Web Dashboard)
Open WiFi Settings on your device and connect to the “JuiceMeter-XXX” WiFi network, using password “GoElectric” (case sensitive).
Open a web browser and type in setup.com or 10.10.10.1 in the address bar.
A list of available networks should be displayed. Select your desired WiFi network, enter its password, then click “Connect”.
You should see the message “Success! Your network password is correct”, and pairing is complete. Your device should disconnect from the “JuiceMeter” network and reconnect to your home WiFi network. You may close the Setup website, or proceed to the Dashboard (below) once reconnected.
Go to Section C.
C. Pair JuiceMeter with JuiceNet (JuiceNet Web Dashboard)
Be sure your device is reconnected to your home WiFi network, not cellular data.
Go to the Dashboard at dashboard.emotorwerks.com and log-in or create a new account.
Once your JuiceMeter is connected per the directions above, click “Add JuiceMeter” on the Dashboard main page.
A list of devices found on the same network will be shown here. Your JuiceMeter should be visible. Click the line to enter its ID number into the field, then click “Add JuiceMeter” to confirm.
Once you set up the meter, you would need to create a Load Group and add both the meter and your juicebox (or juiceplug) to that group. Then you would limit the total power limit for that group to seven amps. That would ensure that when there is no production, your charging station would stay off. The mechanism of action here is that our JuiceNet cloud would constantly get telemetry from both your meter and your charging system and would keep the total below 7A. So if your solar production is at -15A (JuiceMeters are set in JuiceNet as producing resources, thus negative amps), your JuiceBox will be set at 7+15=22 amps. As the sun sets, the Juicebox setting would drop to 7amps, which will result in JB shutdown.